¶ Publishing Extensions to the Assistant Cloud
This guide walks you through the steps to publish your Assistant extension to the cloud, making it available for use and future updates.
¶ Prerequisites
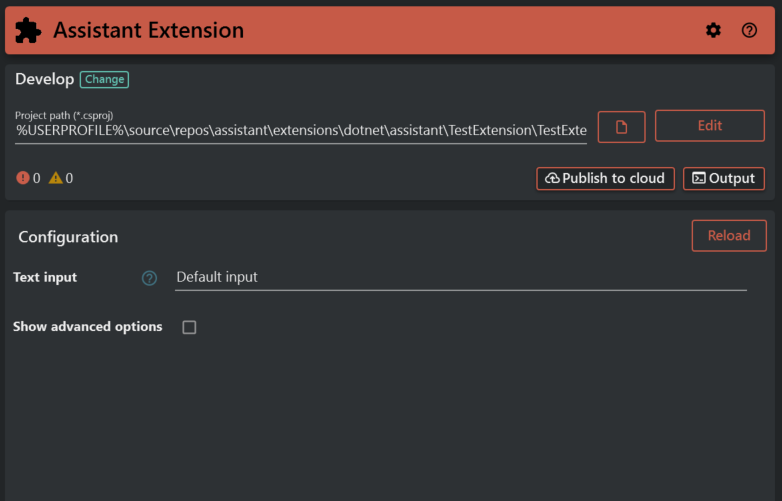
Before publishing, make sure your extension is built and loaded in the Assistant Extension panel. You should see your project path listed under Develop with no critical errors (0 errors shown in the status bar).
¶ Step 1: Open the Publish Wizard
In the Assistant Extension panel, click the Publish to cloud button in the top-right area of the Develop section.
This opens the Publish Extension setup wizard, which guides you through three stages:
- Extension Details
- Version Creation
- Build & Publish
Note: If your extension folder is not yet a Git repository, you will see a prompt at the top of the wizard. It is recommended to click Initialize Git before proceeding, as Git is required for managing future updates and version publishing.
¶ Step 2: Fill in Extension Details
On the Extension Details step, you register your extension with the Assistant cloud.
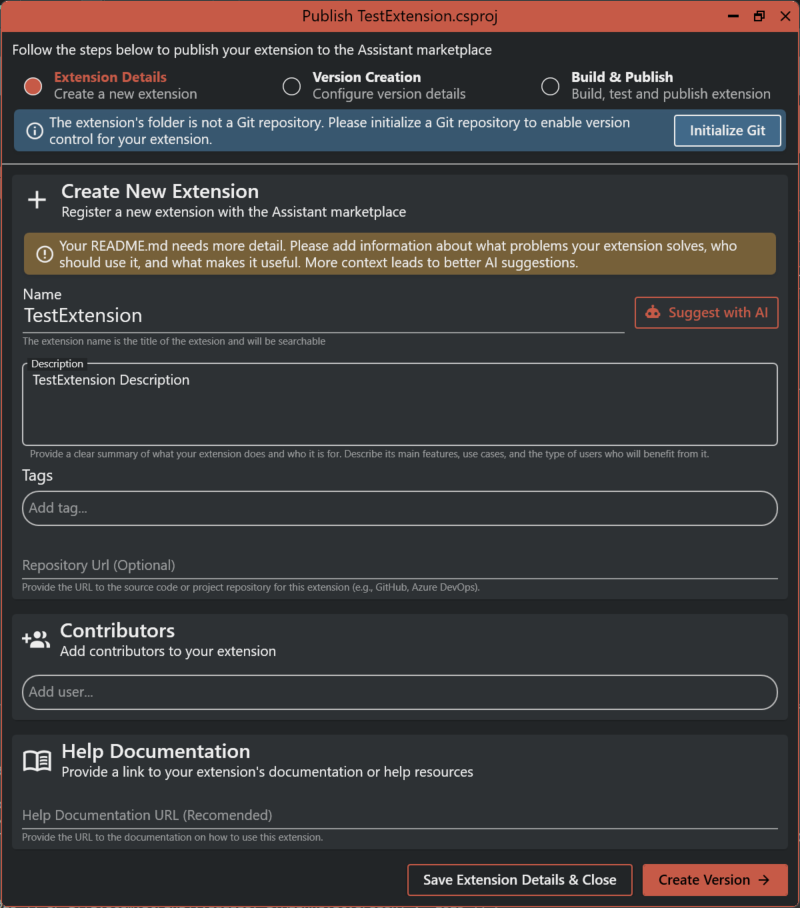
¶ Name
Enter a clear, searchable name for your extension. This is the title that will appear in the cloud.
¶ Description
Write a summary of what your extension does, who it is for, and what problems it solves.
Tip: Use the Suggest with AI button to automatically generate a description based on your extension's code and README file. The AI will also suggest relevant tags to help users discover your extension.
Make sure your
README.mdcontains enough detail about your extension's purpose and use cases — the more context it has, the better the AI suggestions will be.
¶ Tags
Add tags to help users find your extension. You can add them manually or accept the AI-suggested tags.
¶ Repository URL (Optional)
Provide a link to your source code repository (e.g., GitHub or Azure DevOps). This helps users and contributors find the codebase.
¶ Contributors (Optional)
Add other members of your organization who contributed to the extension. Use the Add user field to search and include collaborators.
¶ Help Documentation URL (Optional)
Provide a link to documentation or help resources for your extension. This gives users a place to go if they need guidance on using it.
Once you have filled in the relevant details, you can either:
- Click Save Extension Details & Close to save your progress and come back later, or
- Click Create Version → to proceed to the next step.
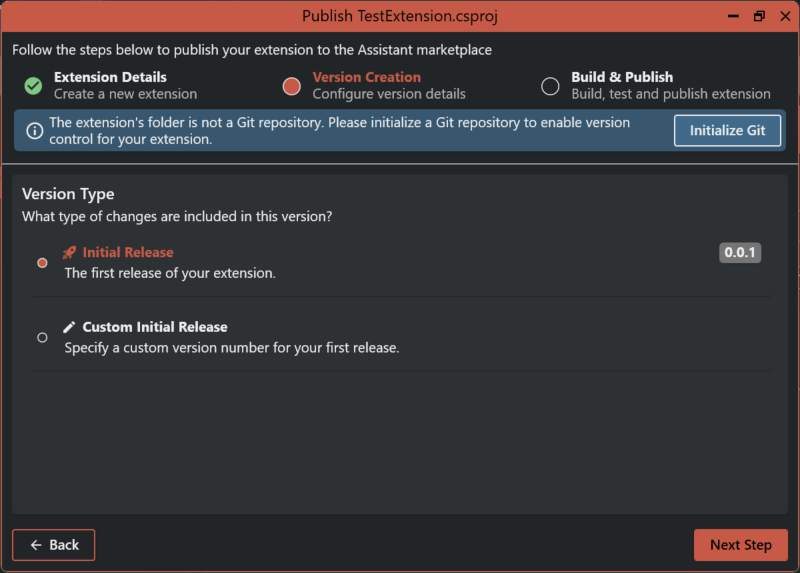
¶ Step 3: Configure the Version
On the Version Creation step, select what type of version you are publishing.
¶ Version Type Options
- Initial Release — Use this for the first release of your extension. The version number will be set to
0.0.1automatically. - Custom Initial Release — Use this if you want to specify a custom version number for your first release.
Select the appropriate option and click Next Step to continue.
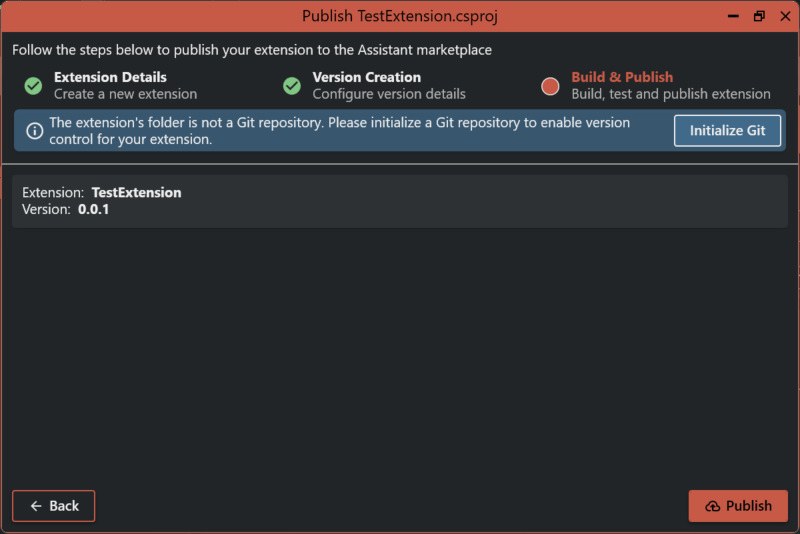
¶ Step 4: Build and Publish
The final step shows a summary of what will be published:
- Extension: The name of your extension
- Version: The version number you configured
Review the details, then click Publish to build and publish your extension to the Assistant marketplace.
¶ 
¶ After Publishing
Once your extension is successfully published, a .extensions folder will be created in your local repository. This folder contains the metadata needed to manage your extension going forward.
Make sure to push this folder to your remote repository (e.g., GitHub or Azure DevOps). It will be used to:
- Track your extension's published state
- Publish new versions in the future
- Update extension details without re-registering from scratch
¶ Publishing Future Versions
For subsequent releases, open the Publish wizard again from the Publish to cloud button. Because the .extensions folder already exists in your repo, the wizard will recognize your extension and allow you to configure and publish a new version directly — no need to re-enter your extension details from scratch.