¶ Insert Image
¶ Description
The Insert Image Command is a feature in the Assistant that allows you to insert an image into your active Revit model. This feature can be used to insert images from your clipboard or from a file path provided by you.
¶ How to Use
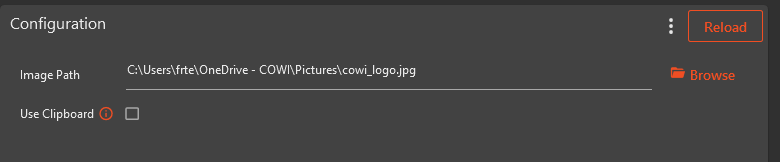
1. Use Clipboard: If this option is selected, the extension will attempt to insert an image from your clipboard into the Revit model. Please ensure that an image is copied to your clipboard before running with this option.
1. Image Path: If you prefer to insert an image from a file, you can provide the file path in this field. The extension will attempt to insert the image located at the provided path into the Revit model. Please ensure that the path is correct and the file exists at the provided location.
After you have made your selection and provided the necessary information, click on the "Run" button in Assistant. The command will then attempt to insert the image into your Revit model.
If the image is successfully inserted, a message will be displayed saying "Image was successfully pasted" in the Assistant task result. If there is an issue with the insertion, an error message will be displayed detailing the problem.
¶ Note
The image will be inserted at a point in the model that you pick after running the extension. A prompt in the lower left corner of Revit saying "Pick insertion point (midpoint)" will be displayed, and you can then click on the desired location in the model where you want the image to be inserted.
If the image is not if type .jpeg, a new image file will be created with this type. When inserting from clipboard, this will be a random path to the temp folder, when inserting from path it will be on the same location as the original file, just with the new extension.
¶ Requirements
Revit must be open and an model must be open.
If using the clipboard option, an image must be copied to the clipboard.
If using the file path option, the file must exist at the provided path and be a valid image file.