¶ Remove links
¶ Overview
This guide provides a step-by-step process for using the 'Remove links' task.
¶ Step 1: Locating the Task
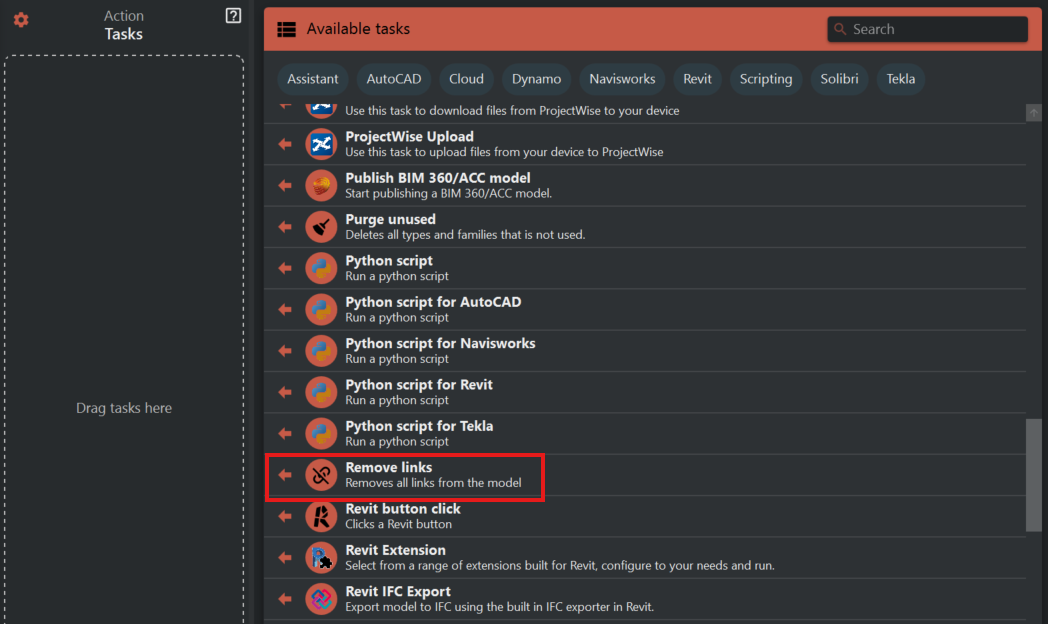
- Look to the right side of the screen to find the 'Available tasks' section.
- Identify and click on the ‘Remove links’ task.
¶ Step 2: Understanding the Task
- 'Remove links' is a task that, when executed, will remove all linked models, such as linked CAD files or Revit models, from the current project.
- Note: Executing this task will permanently remove the links, and they will have to be relinked manually if needed again.
¶ Step 3: Preparing to Execute the Task
- Before proceeding, ensure that removing links will not disrupt your workflow. This action could affect coordination with other disciplines or linked construction documents.
- It’s a good practice to save a backup of the Revit model or create a duplicate file to perform this task, to avoid irreversible changes to the original model.
¶ Step 4: Executing the Task
- Once you have secured your data, click on the 'Remove links' task to begin the process.
- Depending on your interface, you might need to confirm your choice before the task proceeds.
¶ Step 5: Confirming the Removal of Links
- After the task has run, check the 'Manage Links' dialog in Revit to ensure that all links have been removed from the project.
¶ Important Notes
- The 'Remove links' task should be used with understanding of its implications to the project data and any collaborative workflows.
- This task is irreversible; therefore, making a backup of the Revit model before execution is crucial.
- After links are removed, you might need to address any unresolved references or errors that may occur within the model.