¶ Save/Synchronize Revit model
¶ Overview
This guide provides instructions on how to save/synchronize your model using the 'Save/Synchronize Revit model' task with various settings for customization.
¶ Step 1: Accessing the 'Save/Synchronize Revit model' Task
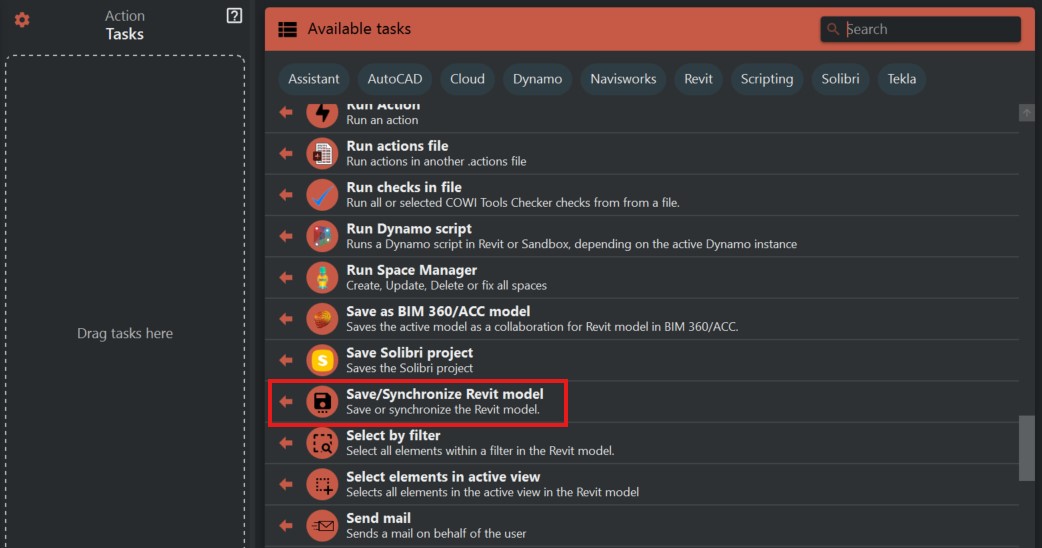
Look to the right side of the screen to find the 'Available tasks' section.
Identify and click on the ‘Save/Synchronize Revit model’ task.
¶ Step 2: Configuring Save Settings
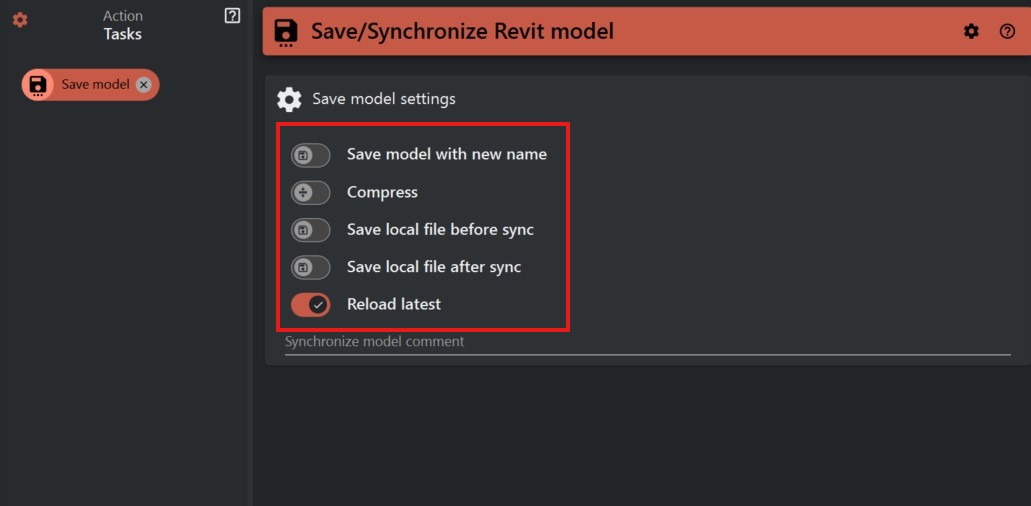
- Save model with new name: Check this option if you wish to save the current model under a new name. You will need to specify the new name in the provided field.
- Compress: If you want to save storage space, select the 'Compress' option to save the model in a compressed form.
- Save local file before sync: This option ensures that a local copy of the model is saved before any synchronization with cloud or server storage occurs.
- Save local file after sync: Conversely, this will save the local copy after synchronization.
- Reload latest: Check this if you want to reload the latest version of the model from the server after saving.
- Synchronize model comment: Use this field to add any comments or notes regarding the changes made for this version of the model.
¶ Step 3: Saving the Model
- After setting up all the options, click the save or execute button to initiate the saving process.
- The model will be saved with the chosen settings and location.
¶ Important Notes
- Always double-check the file path to ensure you are saving the model in the correct location.
- Use the 'Save model with new name' feature carefully to avoid overwriting existing files unintentionally.
- Saving progress can vary based on the model's size and complexity.