¶ Zip Files
¶ Overview
This guide will walk you through using the 'Zip Files' task to compress files or folders into a .zip archive on your device.
¶ Step 1: Starting the Task
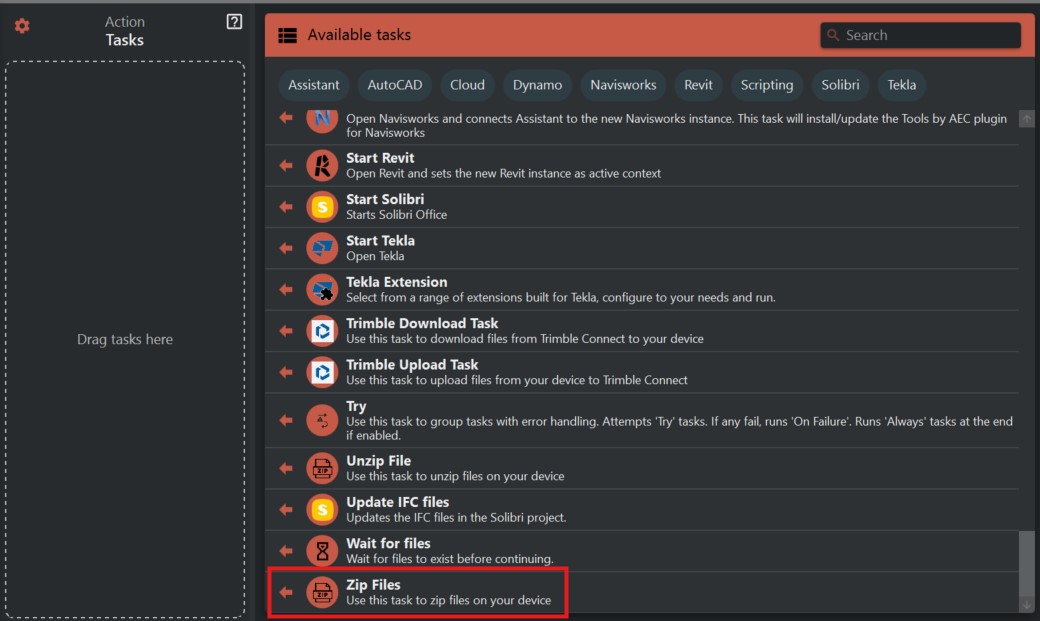
- In the interface, navigate to the right-hand side where the 'Available tasks' are displayed.
- Find and select the 'Zip Files' task.
¶ Step 2: Setting the Destination
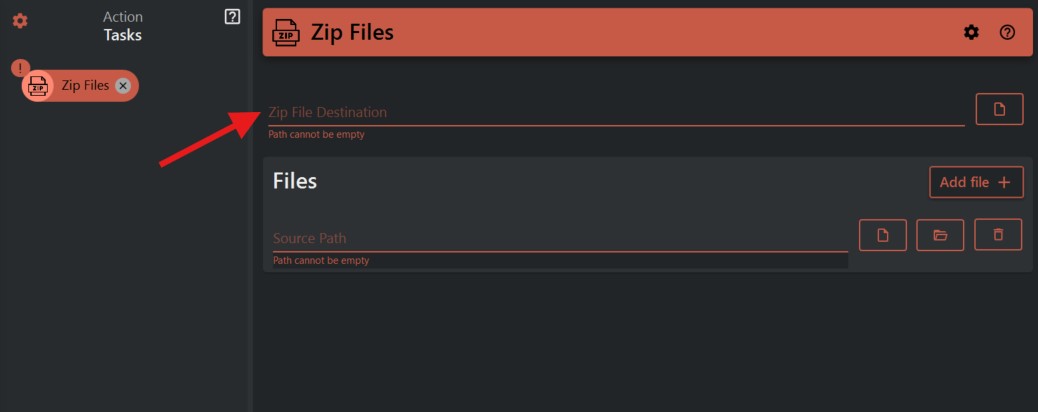
- In the 'Zip File Destination' field, specify where you want the new .zip file to be saved. You can manually type in the path or use the folder icon to select a destination through the file explorer.
¶ Step 3: Choosing Source Files or Folders
- Under 'Files', you'll find the 'Source Path' section where you can list the files or folders you wish to compress.
- To add a file, click on the 'Add file' button and navigate to the file you wish to include using the file icon. This will open a file explorer window where you can select your files.
- If you want to add an entire folder, use the folder icon to choose the folder instead.
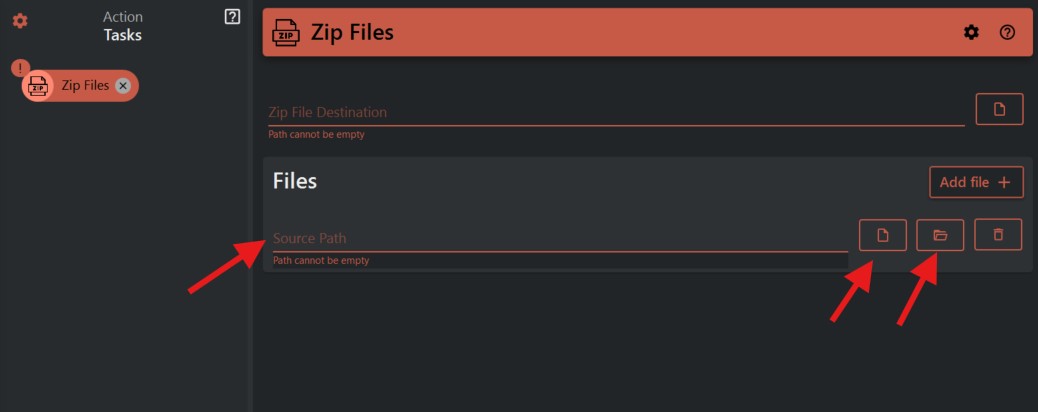
- You can add multiple files or folders by repeating this process for each item you want to include in the zip file.
¶ Step 4: Finalizing Your Selections
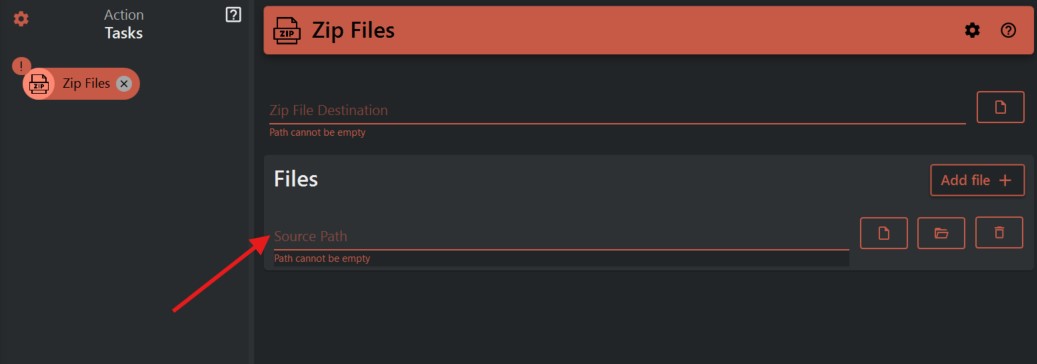
- Once all files and folders are added, double-check the source paths and destination to ensure they are correct.
- Confirm that all the files and folders you want to compress are listed and that the destination path is where you want the .zip file to be saved.
¶ Important Notes
- Ensure you have sufficient space at the destination path for the new .zip file.
- The compression time will vary depending on the total size and number of files or folders you are compressing.
- Be aware that some files may not compress significantly, especially if they are already in a compressed format.